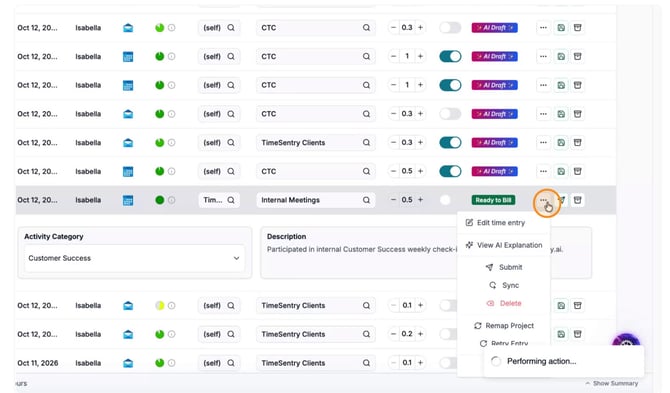
Step 1: Understand Why No New Entries Are Appearing
When you click the Capture time with AI button, the system may already have a multi-day range selected that has been scanned previously.
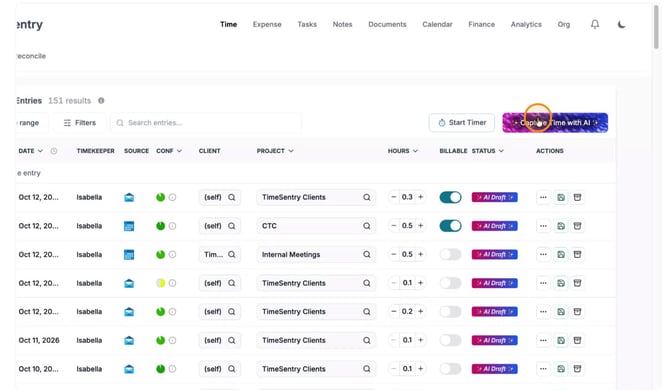
If this pre-selected date range has already been processed, no new entries will appear because those dates are already captured and logged. For example, if you previously scanned October 6th and 7th, those dates are already visible in your time entries.
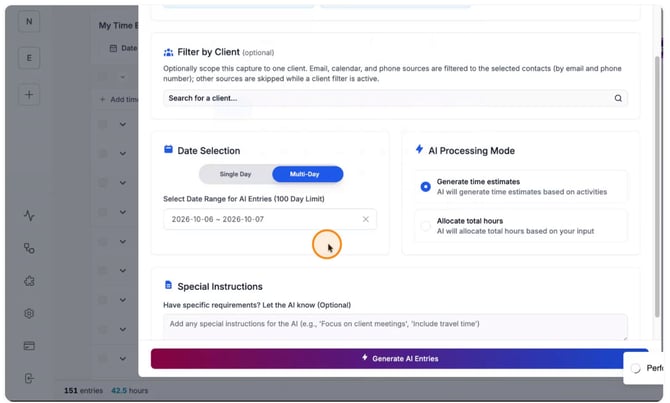
So, if you scan the same dates again, nothing new will be generated. The most recent Capture time with AI run (the current generation) will not return additional entries if there is no new underlying data for that period.
Step 2: Confirm Your Integrations and Data Sources
To ensure there is data for the AI to convert into time entries, first verify that your integrations are correctly configured.
Open your Integrations panel on the bottom left (puzzle icon) and confirm you have at least one data source connected.
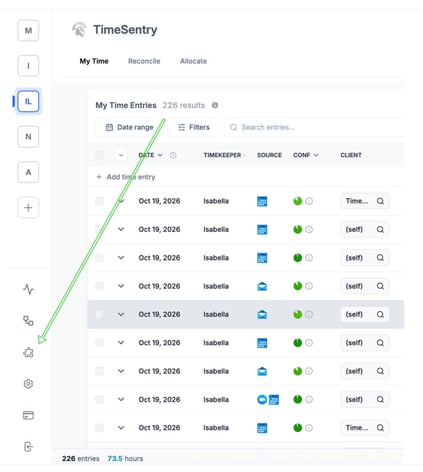
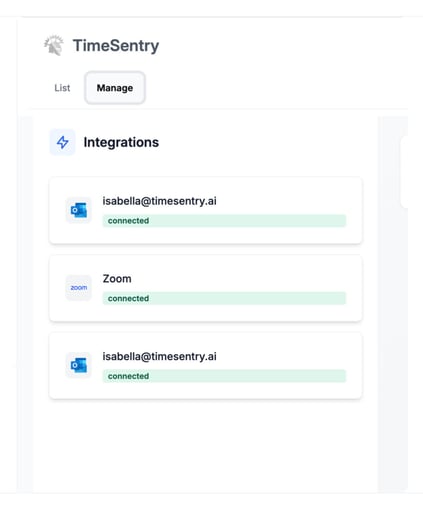
Your calendar and email integrations are especially important, as they provide the richest data time entries.
Step 3: Reselect an Appropriate Multi-Day Date Range
Next, adjust the date range used by Capture time with AI. Scroll to the date selector and reconfigure the multi-day selection.
For troubleshooting, start by selecting a broad range—for example, the entire month of October.
This helps ensure you are not missing entries simply because the selected period is too narrow.
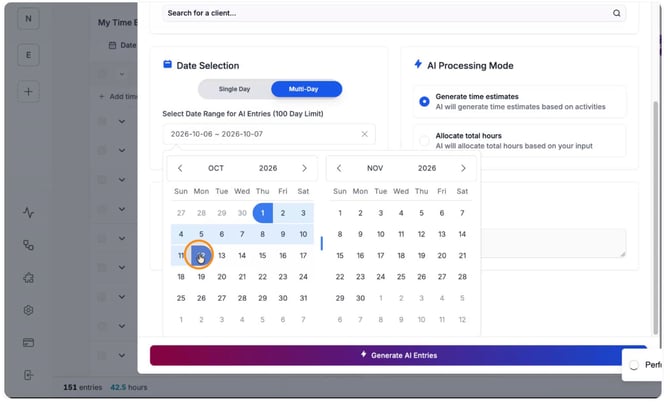
Step 4: Generate AI Time Entries for the New Range
After choosing the desired date range, click the Generate AI entries button to trigger a new capture run.
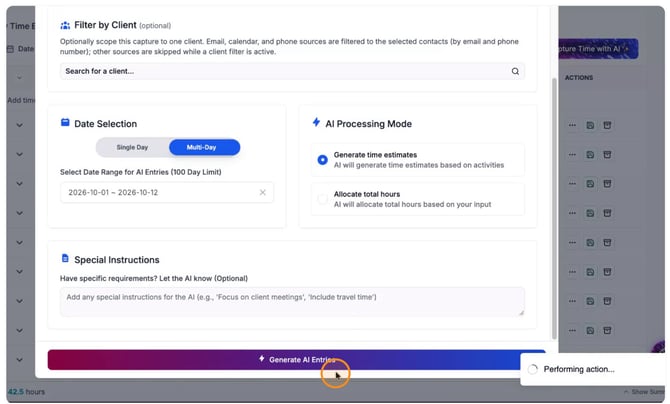
The system will process the selected range and surface any new time entries it can infer from your connected data sources. If you have deleted some entries for today (as in the example), you will see those regenerated. However, previously logged entries for past days will not duplicate—only new or missing entries will appear.
Step 5: Clear Filters to View All Available Time Entries
Once the generation completes, clear any active filters so you can see the full list of time entries.
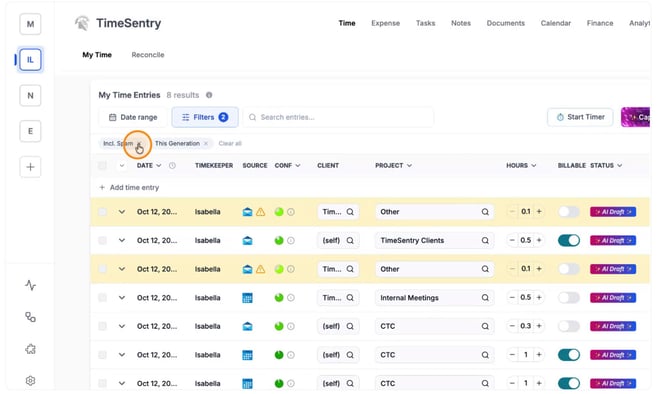
After filters are cleared, you should see all of your time entries.
Step 6: Review Entry Sources and Descriptions To better understand each entry, look at the Source field, which shows where the entry was pulled from.
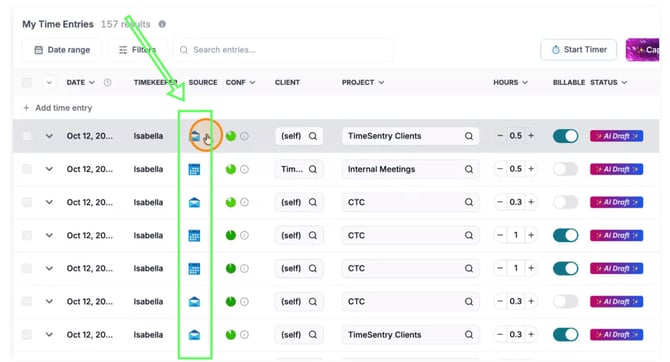
For example, you might see an entry sourced from Outlook, indicating it was created from a calendar event or email. The Description field provides additional context for what the time entry represents.
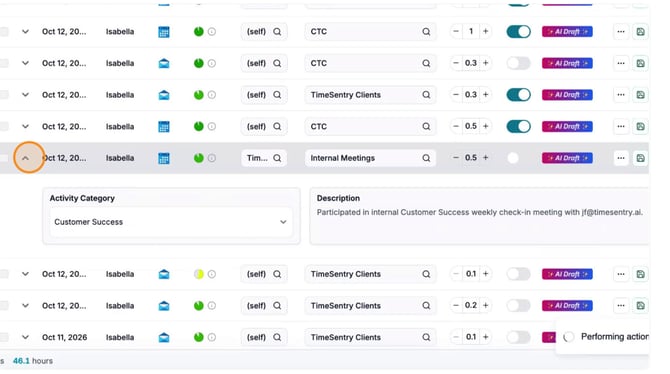
You can continue exploring individual entries—opening details, reviewing descriptions, and confirming they match your actual work.